
Alright, fellow gamers, let’s dive into the nitty-gritty of setting up a dedicated server in Palworld. Trust me, it’s a walk in the park – Pocketpair’s got a guide, and I’ve got the lowdown on moving that server to another computer. Buckle up!
For the uninitiated (and there are millions of you out there), setting up a server on the same computer you’re planning to conquer Palworld on might seem like a good idea. Spoiler alert: it’s probably better to split the load and shift things to a second setup if you can swing it. Lucky for you, the process isn’t rocket science; you just need to know the ropes.
Transferring A Dedicated Server Is Not The Same As Creating One
Why Transferring Is A Bit More Involved Than The Initial Setup
Now, transferring a dedicated server isn’t a carbon copy of the initial setup gig. The starting point is a breeze – download the Palworld Dedicated Server tool, run it, forward that port (default’s 8211), and share your public IP with your gaming buddies. The tricky bits? Finding that elusive WorldSettings.ini file and figuring out which IP is the golden ticket. But wait, there’s more.
How To Transfer A Dedicated Server Between Computers
And How To Launch Palworld On One Computer & The Server On The Other
Let me spill the beans on how we moved our dedicated server. Bear in mind, your PC setup might dance to a different tune, but this worked like a charm for us on the PC version of the game.
- Download Palworld Dedicated Server tool on your secondary computer.
- Run Palworld Dedicated Server, check that CMD box for ‘Setting breakpad minidump AppID = 2394010.’
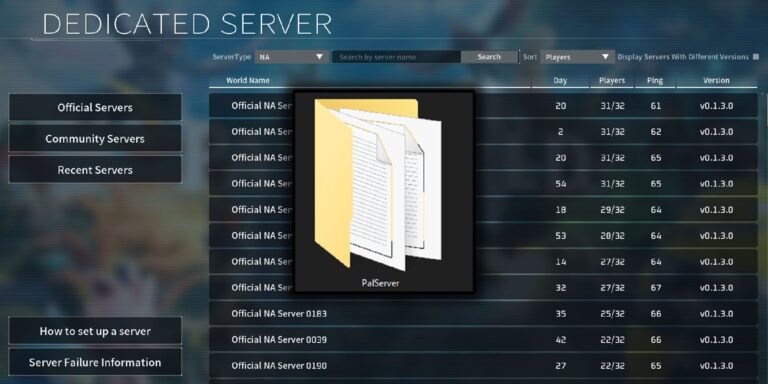
- Close Palworld Dedicated Server tool, right-click, ‘Manage,’ and hit ‘Browse Local Files.’
- To play it safe, we copied the whole ‘PalServer’ folder to a Flash Drive. You could be more surgical, but we like living on the edge.
- Plug that Flash Drive into your second PC and copy the files to the PalServer folder. You’ll find it under /C:/Program Files/Steam/steamapps/common/PalServer.
- Let the folder overwrite any files it finds in the PalServer folder. No room for indecision here.
- Now, venture into your router settings and Port Forward the right Port (maybe ditch the Port Forward for your primary PC).
- Fire up the Dedicated Server Tool again, close it after that breakpad confirmation.
- If both computers are in the same network, your Public IP stays the same – friends can reconnect using the same IP. Just keep it on the down-low.
- If, for some cosmic reason, that’s not working, use tools like Whatsmyip.com to find your Public IPv4.
- Discover the private IPv4 address for your second computer (try ‘ipconfig /all’ in the Command Prompt), and use that to join your own server.
- To run Palworld Dedicated Server tool on one computer and Palworld on the other while both are logged into Steam, set Steam to offline on the computer with the Dedicated Server tool first. Remember, if you need to update the tool, go online, update, then go offline again.
If you’ve navigated this digital labyrinth without a hitch, your server should now call your second computer home. No glitches, no lost progress – just pure gaming bliss. Those loyal players can hop back in, pick up where they left off, and any tweaks to the server happen on computer numero dos.
And hey, setting it up this way not only boosts server stability but also keeps your main computer’s resources free from the dedicated server’s resource-hungry antics.
