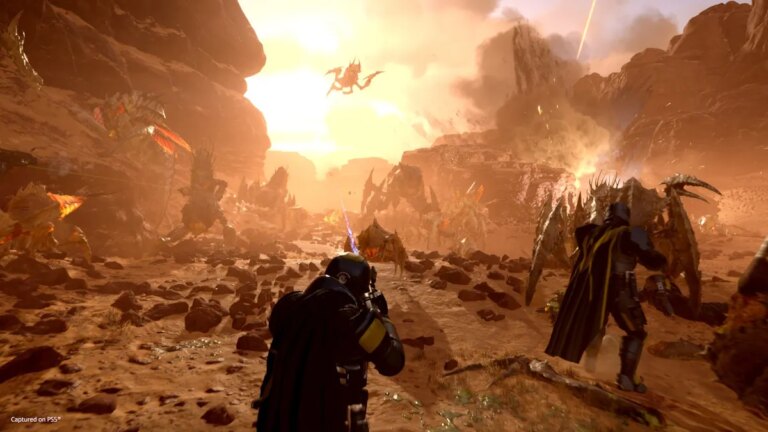
As you progress through the difficulty tiers of Helldivers 2, you encounter formidable adversaries. The Charger, a relentless foe, poses a significant challenge, capable of decimating unprepared divers. Below is a guide on how to dispatch a Charger in Helldivers 2 efficiently and effectively.
Ways to kill a Charger in Helldivers 2
The Charger, classified as a ‘Heavy’ enemy in Helldivers 2, boasts formidable size, resilience, and armor. Conventional weaponry struggles to penetrate its tough carapace, rendering bullets and grenades largely ineffective.
Due to its charging nature, the Charger relentlessly rushes towards its target. Utilize evasive maneuvers to dodge its approach. Execute a leap maneuver to evade its charge, then focus fire on its vulnerable rear. Additionally, luring it into environmental hazards may momentarily incapacitate it, though further experimentation is required to confirm its efficacy.
With coordinated teamwork and perseverance, the Charger can be overcome. However, as the challenge escalates, confronting multiple Chargers simultaneously becomes commonplace. In such scenarios, swift elimination becomes imperative. Here’s how.
Use explosive Support Weapons and aim for the legs
Unlock Support Weapons capable of penetrating or dismantling armor. The EAT-17 Expendable Anti-Tank, particularly effective against Chargers, is a recommended early-game option.
While the GR-8 Recoilless Rifle is viable, the EAT-17 offers superior armor-shredding capabilities. With a cooldown of 70 seconds, it can be deployed frequently, potentially yielding three units during a single engagement. In contrast, the Recoilless Rifle boasts a longer cooldown of 480 seconds and a lengthier deployment time.
Utilize the EAT-17 to target one of the Charger’s front legs, as it constantly maneuvers to face its adversary. A well-aimed rocket will strip away the armor, exposing the vulnerable limb.
Subsequently, switch to primary weapons and focus fire on the exposed leg. With optimal execution, a Charger can be neutralized in under five seconds.
Early-game Support Weapons suitable for targeting fleshy areas:
- Anti-Materiel Rifle
- Autocannon
- Grenade Launcher (practice precision)
Support Weapons recommended for seasoned Helldivers:
- Railgun
- Spear
- Arc Thrower (suitable as a backup)
Call in a decisive Stratagem strike
If you prefer a less hands-on approach, deploy specialized Stratagems to swiftly eliminate Chargers. Prioritize Stratagems tailored to heavy armor, avoiding those ill-suited for such adversaries.
Effective Stratagems are typically among the most costly. While standard Stratagem strikes (Eagle or Orbital) excel against smaller targets, those specifically designed for heavies and elites prove most effective.
Optimal Stratagems for combating Chargers include:
- Eagle 500kg Bomb
- Orbital Laser
- Orbital Railcannon Strike
Among these, the Orbital Laser stands out, continuing to engage additional targets after neutralizing the Charger. While the others deliver a single decisive blow, the laser provides sustained firepower.

