
Fed up with inadvertently teamkilling your comrades with mortar strikes? Perhaps it’s time to downsize your team’s vertical space with a Gatling sentry. Let’s delve into the effective (and safe) utilization of both turret types in Helldivers 2.
How to Stop Teamkilling With Mortar Sentries
The mortar sentry is best employed as a defensive asset. Dropping a mortar outside an enemy base and charging in guns blazing is a recipe for disaster—not only will you face enemy fire, but also friendly fire. While setting up a mortar for initial bombardment is permissible, ensure to dismantle the sentry before advancing into its firing zone.
Below is the optimal method to deploy a mortar sentry for maximum efficacy and minimal casualties. Maintain proximity to the sentry with your team while keeping a safe distance from enemies. Should you find yourself near an enemy, promptly distance yourself and avoid recent enemy pathways. Since the mortar sentry exhibits targeting delays, extra caution is required to calculate a safe trajectory when maneuvering amidst enemies.
How to Stop Teamkilling With Other Sentries
Now, let’s address the standard sentries, known as “direct fire” sentries. These types offer visible aiming, rendering them somewhat easier to evade. If you’re severely out of position, assume a prone stance to safely evade the turret’s line of fire. Otherwise, refer to the following guidelines:
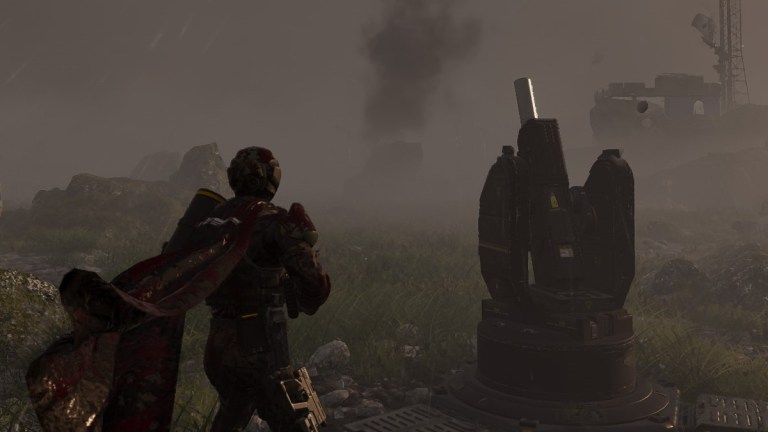
Strategically positioning an obstacle between you and the turret, maintaining a clear line of sight to the enemy, proves most effective when utilizing sentries. In the absence of cover, positioning the sentry between you and the enemy can suffice, but vigilance against flanking maneuvers is imperative. Certain sentries, such as the autocannon, warrant placement at a distance from the enemy to allow for targeting and firing before being overwhelmed. Conversely, Gatling sentries should be positioned closer. Below are the recommended placements for each sentry type:
- Autocannon sentry: distant from enemy, nearer to team
- Missile sentry: moderately distant from enemy, beware of backblast
- Machine gun sentry: moderately close to enemy
- Gatling sentry: moderately close to enemy
Properly utilized, sentries can be as invaluable as teammates. Now, go forth and demonstrate to these automatons that advanced cognition is redundant in the face of superior firepower.
